I know a little German . . .
I’ve been incredibly busy with my Master Vintner project–have a look at some of the things we’ve got going on over here–making wine, tasting wine, talking about wine, and generally loving the whole Master Vintner concept.
In all my time in the consumer wine kit business I wanted to make a kit that I was completely responsible for, not so much because I’m a shiny-eyed control freak, but because I wanted to share something where everything was done exactly the way I wanted it, at each step. I get to do that now, and it’s a rare privilege in business to make something this good, and then to see people making the kits and loving them.
But, I do have other interests–cooking, gardening, photography, travel, motorcycles, hunting, shooting, hiking, reading and generally messing around learning stuff, and, as it happens, suddenly going into deep geek mode when something catches my imagination (I have been accused of having ‘Attention Surplus Disorder’).
Which leads me to one of my latest offshoots: I was doing research on the Charmat Method, a process for making sparkling wine in pressure tanks, rather than carbonating in the bottle. It’s an interesting compromise: force carbonating, like the way they get the fizz into most mass-market beers, leaves large bubbles that are described as ‘coarse’, but it’s very inexpensive to do. Bottle conditioning is the traditional method for making champagne, and it uses a dose of sugar and yeast inside a sealed bottle to produce carbon dioxide in situ. That makes for fine, creamy bubbles, but it’s expensive and time-consuming. Do the conditioning in a tank and bottle it from there the theory goes, and you’ve got a decent product at a reasonable price.
The thing is, letting yeast have their way with sugar in a sealed vessel is tricky. Most homebrewers have had, or been present for a ‘bottle-bomb‘, where the carbonation was so high that either the bottle gushed foam like a fountain as soon as it was opened, pouring out until it was empty, or it actually exploded right where it was sitting. Glass is not a flawless choice for pressure applications.
Stainless steel tanks are pretty good, but past a certain point, unless they’re built like scuba tanks, they’re nearly as dangerous as a bottle bomb going off. What you need is a pressure relief valve that you can set accurately to hold in the amount of pressure you want, but will vent anything past that. Sounds easy, and it is, if you’re a gas-fitter or a millwright, but for home beverage applications those things aren’t just lying around.
Except all the bits are there, right in front of you, if you speak German.
A Spundapparat is a pressure relief valve used in the process of krausening (those wacky Germans, it’s like they have a word for everything!). Krausening is exactly the same process as the Charmat method, but more German and less French. Tootling around on the internets gave me a good idea of what the deal was: while the classic use was krausening, spunding valves are also used to ferment beer under pressure, allowing beers to finish faster while producing fewer off flavours and undesirable characters.
I didn’t have any appropriate candidate wine for a Charmat process on hand, but I did have access to a sample of WLP 925 High Pressure yeast, designed to be fermented at 14 PSI, and the ingredients for a Pre-Prohibition Pilsner on hand (didn’t know I made beer? Well, it’s yet another hobby . . .)
A beer? A pressure yeast? An interesting apparatus to play with? What ho! In geek heaven, I hatched a plan and immediately launched it!
And then I immediately stopped because the parts I needed for the spunding assembly wouldn’t arrive for a couple of weeks. Poo. I put out a call to my brewer friends and one of them came through for me. Nathaniel lent me his spunding rig, which he used for transferring beers in his solera (it has to do with soured beers, a fad I’m hopeful will soon go away). His rig lacked a proper pressure gauge, but it wouldn’t be mission-critical in this application–the pressures were pretty low and I could fiddle around a bit.
Here’s his rig, and a tricksy little blow-off hose I rigged up. I’ll explain that in a second.
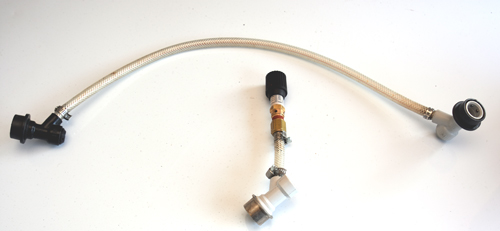
Attached to my blow-off keg (see below).
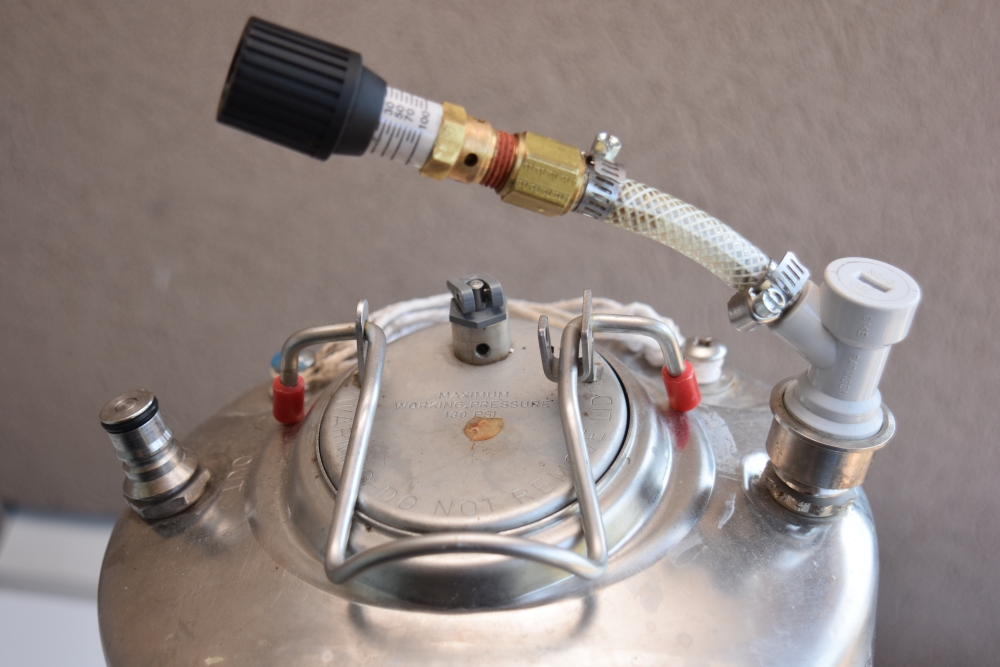
Here’s why the funny transfer hose: the grey disconnect is a gas-in connector. The black is a product-out connector. Product-out posts on the kegs have a stainless steel tube that runs to the bottom of the keg, allowing the liquid inside (wine or beer) to flow upwards, through the tap, into your glass, while the gas-in posts end right at the top of the keg. Makes sense, right?
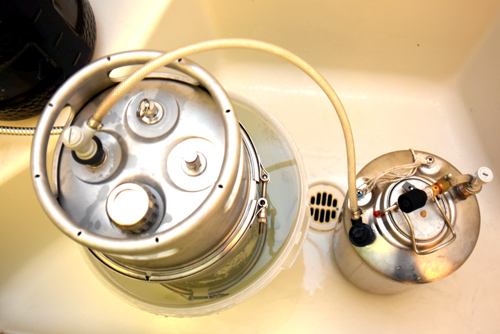
I got a second keg, and set the whole thing up as a blow-off vessel. The very cool and complicated keg on the left is a Big Mouth™ Modular 5 Gallon Keg. Not only does it go from 1-gallon to 5 gallons with a few turns of a wrench, but also it has a port on top that allows you to hang an oak stave from (and retrieve it at will!) or a dry hop bag to flavour your beer. It’s my favoritest thing right now.
In case any foam-up during fermentation would flow through the gas port and travel down the product port in the smaller keg. Both kegs were sealed and purged, the spunding valve set at 14 PSI and the yeast was pitched.
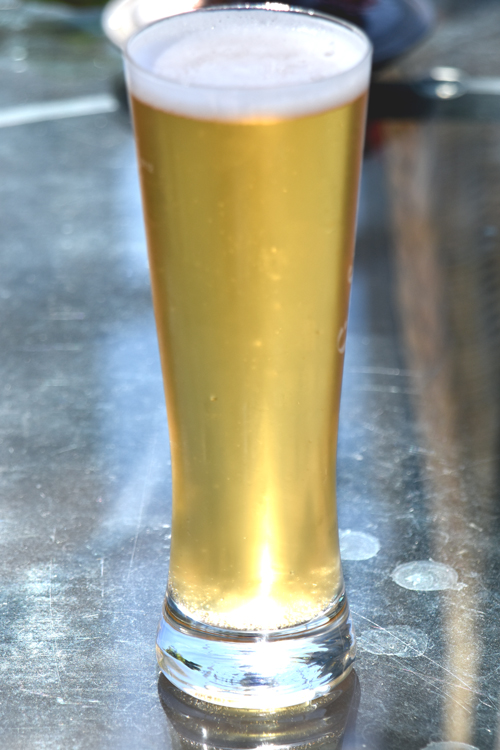
It worked like a charm. The beer fermented dry in five days, and I heard the faintest of muttering from the valve as it uh, passed gas. I moved it to my keezer (keg refrigerator made from a converted deep freeze) to drop the yeast and chill down. The beer is quite good, but the yeast is non-flocculent (it doesn’t want to settle down). It’s not a huge flaw, but next time I’ll filter it to make it shiny and bright.
Now I had all sorts of ideas. My last round of winemaking with my Winemaker’s Reserve kits had me kegging a lot of them, in accordance with Vandergrift’s Second Principle of Winemaking (A winemaker’s desire to bottle wines is in inverse proportion to the number of bottles they have filled in their lifetime). In fact, I had a few kegs in the back of my car . . .

I wanted to do a pressure transfer of wine from one of my 10 US-gallon (38 litre) kegs to my awesomely excellent Master Vintner® Cannonball® Wine Keg System and the spunding rig would allow me to do a transfer under nitrogen gas, slowly and carefully. All I had to do was rig up a product-product transfer hose, attach a gas line between the big keg and the Cannonball, attach the spundapparatus to the Cannonball gas out, and then slowly dial back the spunding pressure and it would transfer meek as a mouse.
But I wanted a more accurate pressure gauge. the little direct rig was fine, as far as it goes, but I didn’t really trust it to be accurate. Fortunately, by now all of my parts had arrived, and I put my own special rig together.
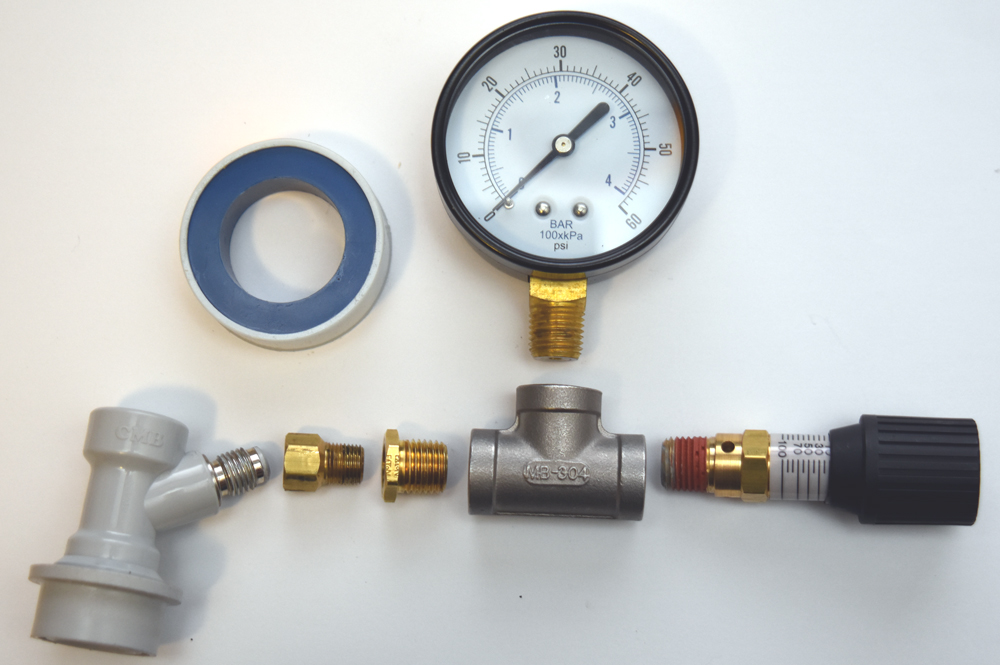
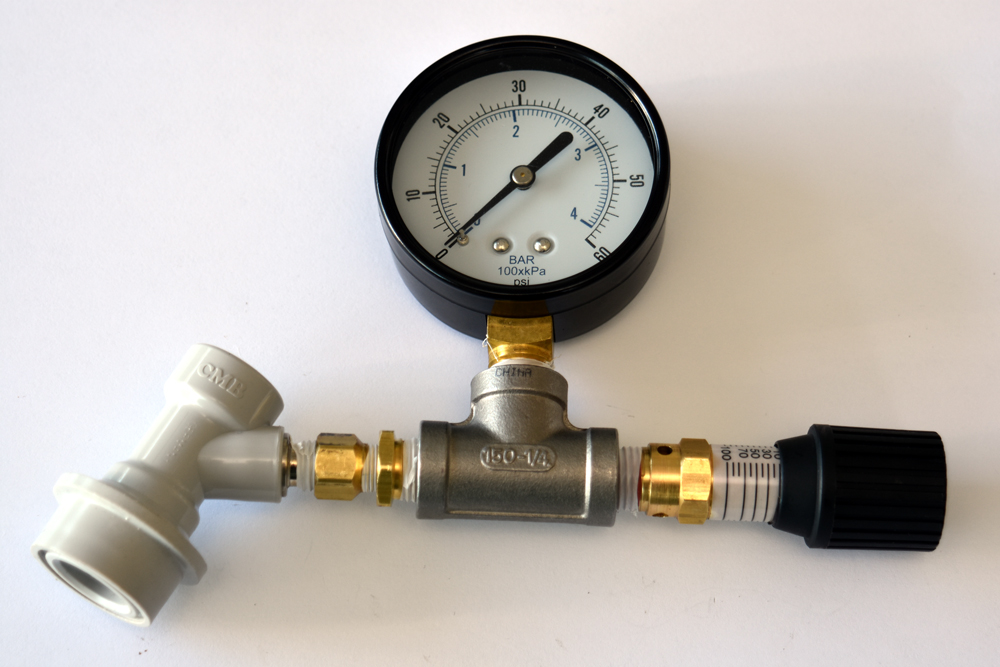
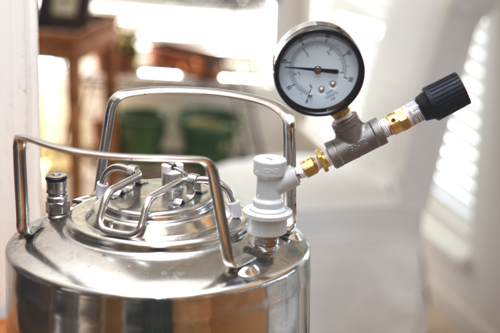
It worked like a charm! Not only did I transfer wine from one container under inert gas to another, but also I did it without racking or pumping. A professional brewer or winemaker would be rolling their eyes at this point, as both of these are standard operations in the industry, but for a home winemaker it’s a pretty cool step, and it only cost around 25 bucks plus some Teflon tape.
What’s next for my little rig? I think it’s time to grab a Winemaker’s Reserve Pinot Grigio and do a Charmat-process sparkling wine–with good management and a little work I should have it ready to drink by the holiday season this year!
Unless, of course, I get distracted and do something even weirder in the meantime. I’ve been meaning to make a high-gravity Belgian beer with Muscat grape juice in it . . .

Ausgezeichnet und einfach toll.