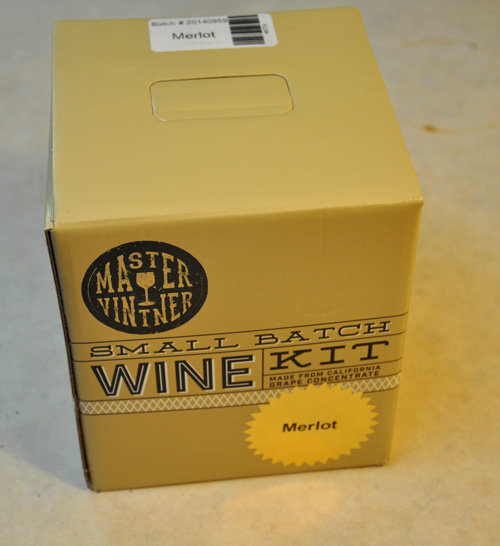
More Master Vintner! I got my Master Vintner equipment and kits going last week and now it’s time to rack them out of primary fermentation and into the I gallon jug.
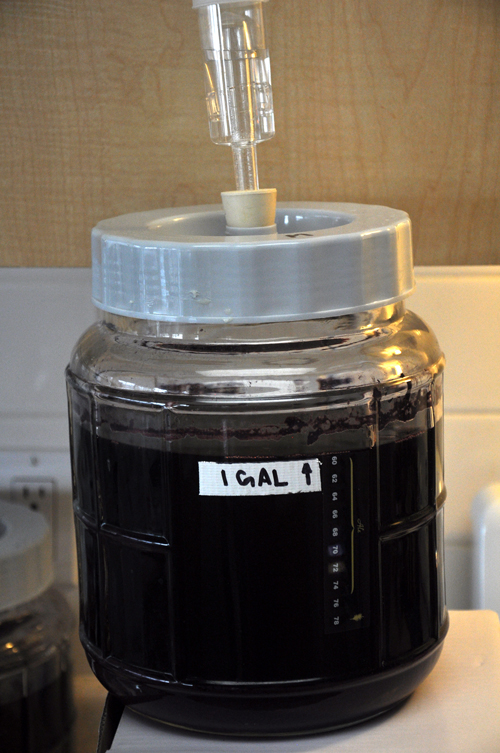
One of the cool things about the Master Vintner Small Batch kit is the size. Compared to lugging 6 US-gallon (23 litre) carboys around, the Little Big Mouth fermenter is a breeze. I’m a big, strong brute, but even I get twinges in my lower back when I have four or five full-sized carboys to lift up for racking.
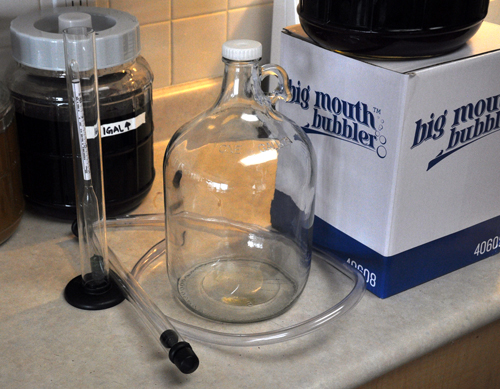
First things first: I assembled my equipment and double-checked the instructions. Yes, I wrote them, but I’ve become slightly obsessive about double-checking them for accuracy. I’m the only guy I know who can argue with himself about following instructions that he wrote!
Next up I cleaned and sanitised the equipment and jug, following the same procedure with Oxygen wash, rinsing and sulphiting that I did on day one. Once it was all clean, it was time to rack it over.
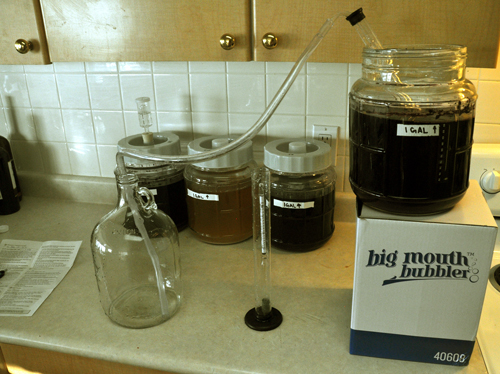
Not only are the Small Batch kits easy to lift, you can also place them just about anywhere. Rather than having to rack from a primary fermenter sitting on the counter to a carboy down to the floor, I popped the LBM onto a box on my countertop and put the jug beside it. I love working at counter height! Honestly, this has got to be one of the killer sell features of this kit: light weight, ease-of-use and dead simple, too.
If you’ve never seen an Autosyphon in action, the small version that came with the kit is a great piece of hardware. Plain syphons work fine, but you have to start them either by filling them with water, covering both ends and simultaneously plunging the pick-up rod into the wine and the hose into a bucket to catch the extra water, and then swap when the wine comes through, or by sticking them into the wine and sucking on the hose like you’re stealing gasoline from a car–which is a little unsettling, but sometimes an opportunity to ‘accidentally’ drink from the hose (wine, not gasoline).
Check out the Autosyphon action:
While the Autosyphon took care of racking the wine into the gallon jug, I did two more things. First, I deftly filled my hydrometer jar with wine so I could check the specific gravity, and second, I tilted the Little Big Mouth back towards the side of the jug that the syphon tip was in. Tilting it would allow me to get all of the liquid out of the jug, while the anti-sediment tip on the syphon prevented any yeast-goo from going into the jug.
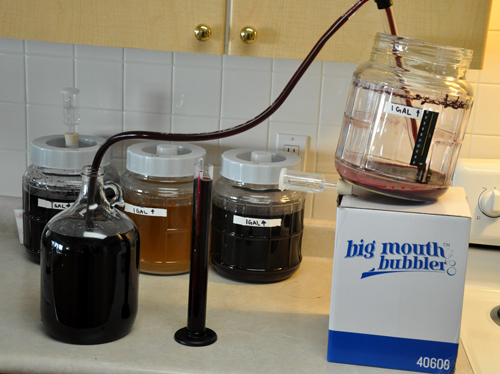
Checking the hydrometer reading, I saw that it was good.

The reading was 0.992–my wine was finished fermenting. Time to look at the instructions, where I wrote down the gravity from day one.

We started at 1.090 and finished at 0.992. With a little math, we subtract the finishing gravity from the beginning, multiply by 131 and we get 1.090 – .992 = 0.98 and 0.98 x 131 = 12.838, or just shy of 13% alcohol, perfect for our Merlot.
Of course there was also the necessity for a quality control test.
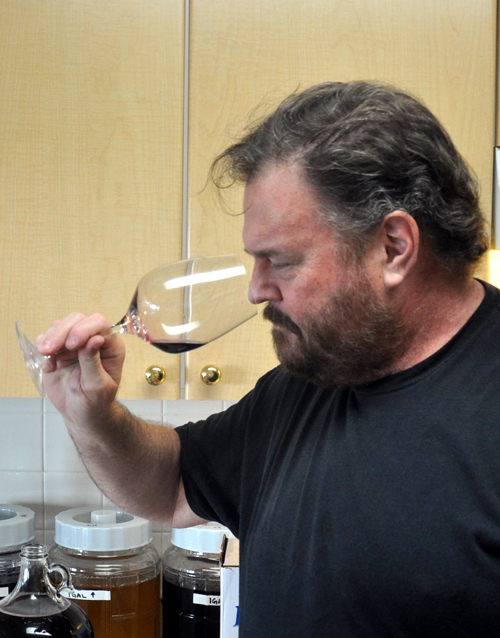
Smelled young, but very good, with nice dark cherry notes. As for the taste . . .

The taste was impressive for such a young sample–it’s going to be pretty good!
The last thing to do was to put the cap an airlock onto the jug and clean up all the equipment I used–well, after I finished racking the other three wines!
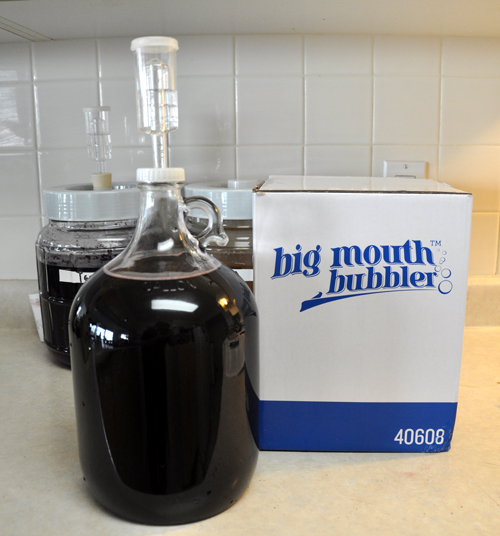
I’m sold. It’s one thing to develop a kit in the laboratory and taste bench samples, but it’s another (and completely necessary) thing to do it right in your own kitchen, among the cats and cabbage rolls to see how it’s going to work in the real world. I’m happier with this kit than with anything I’ve done in a long time, and in 12 days I’m going to get it stabilising and cleared and then it’s off to bottling. Hurrah!
